 Git
GitWe’re excited to announce that GitLive now integrates with your self-hosted GitLab instance! The integration works in much the same way as our Azure, Bitbucket, GitHub and GitLab cloud integrations.
Note that your instance will need to be accessible from the internet in order for the integration to work correctly.
Installation process
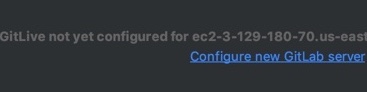
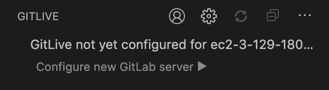
The first step is to install the latest GitLive VS Code extension or JetBrains plugin. Once installed, open a cloned repository from your self-hosted GitLab instance and you will see the following prompt in the GitLive window:
| JetBrains | VS Code |
|---|---|
|
|
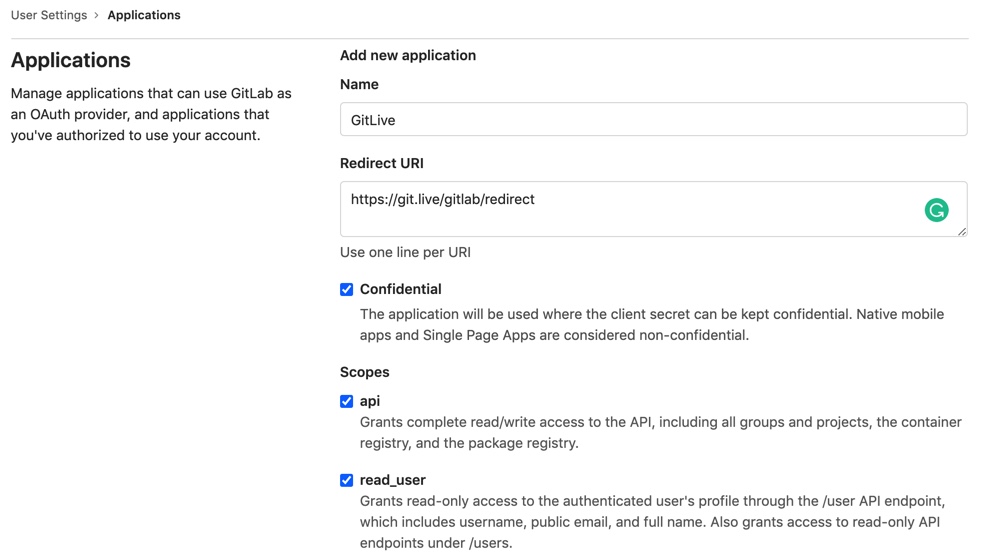
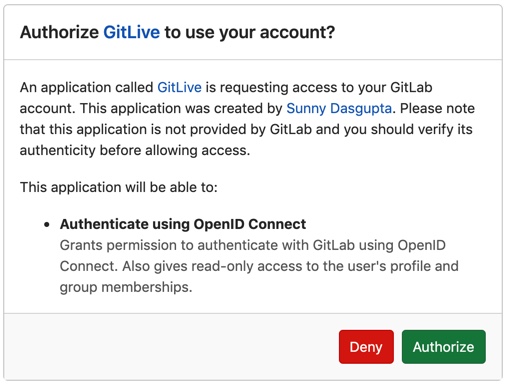
After clicking on “Configure new GitLab server”, follow the setup instructions. You’ll start by adding a new OAuth 2.0 application in GitLab, this will allow you to set the right scopes, and get the GitLab Application ID and Secret, which are needed in GitLive.
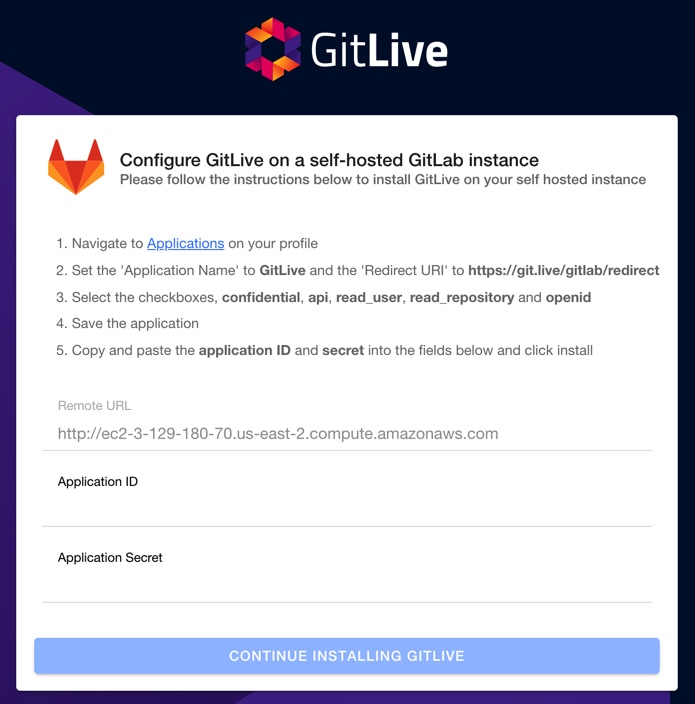
When adding a new application, it’s important to make sure that you are selecting the correct options, as specified in the instructions.
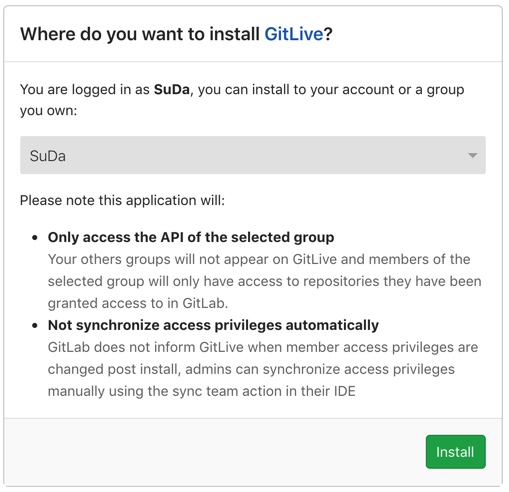
The next step is to authenticate and install your newly created GitLab application on the group of your choice.
|
|
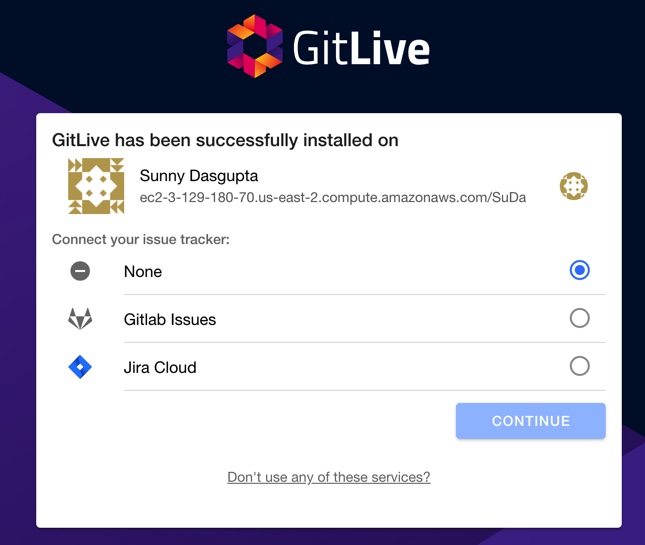
Finally, you will see a screen showing you that GitLive has been installed successfully, with the option to connect your issue tracker to enable our issue tracking integration.
NOTE: As this is a major version update make sure your whole team upgrades, all team members need to use the same major version of the plugin otherwise you may find some features that do not work correctly.
Please let us know what you think about our GitLab integration in the comments. We want to hear how we can make GitLive better for you!
Comments