 Git
Git
Great news, Microsoft Azure DevOps is now supported in GitLive! The integration works similarly to our previous integrations with GitHub, GitLab and Bitbucket.
Installation process
To use GitLive with your organization you first need to download GitLive inside your preferred IDE (JetBrains, VSCode).
Once that’s done there are two onboarding jouneys depending on if you’re an admin installing GitLive on your organisation for the first time, or simply a collaborator signing into an existing organisation. First, lets start with collaborators.
Scenario 1 for Collaborators:
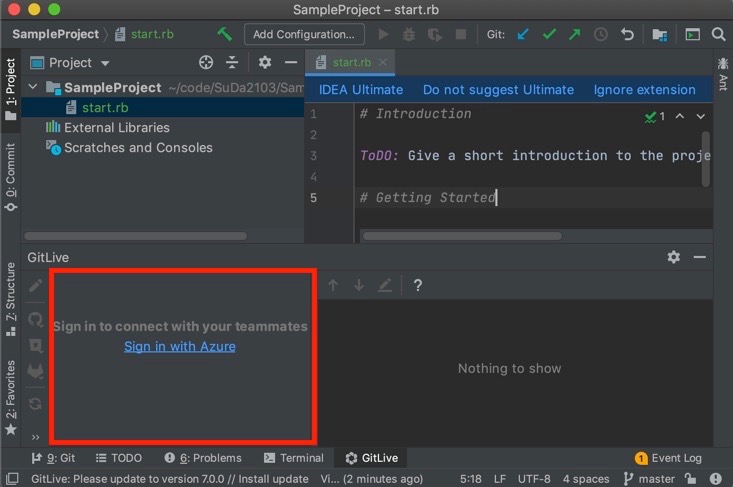
Regardless of your repository access rights (WRITE / ADMIN) you need to authenticate yourself with your Azure DevOps account. Open a clone of the repository you want to use GitLive with and navigate to the GitLive extension inside your IDE.
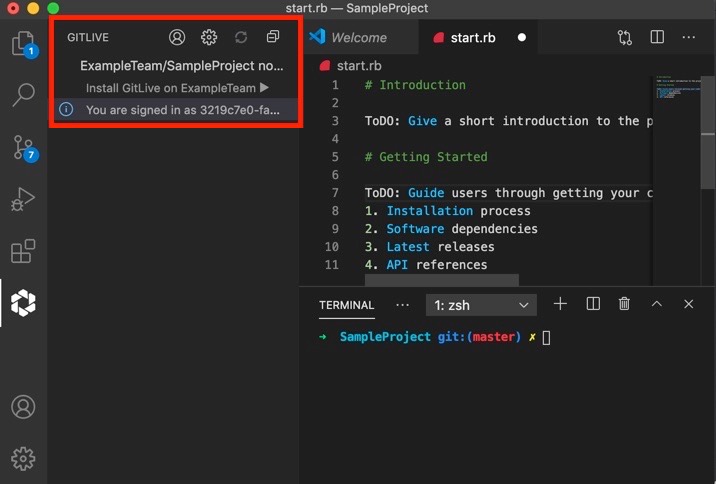
After you have authenticated yourself, your team members will be visible in your IDE for projects from the Azure DevOps organisation the owner of your organisation selected during the installation process (given they have already completed the process).
Scenario 2 for Admins:
As the Owner of an organization you additionally have to grant GitLive access to the repositories you want to collaborate on. In order to do so you need to follow the “Install prompt” in the GitLive window after authenticating (see screenshot). Find out more about the permissions we request on your Microsoft Azure DevOps account and how we use them on the Azure DevOps security page.
Using GitHub, Bitbucket, GitLab and Azure DevOps simultaneously
Does your team host repositories across multiple services? No problem! GitLive allows you to be signed in with a GitHub, Bitbucket, GitLab and Azure DevOps account simultaneously.
Just open the repository from the hosting service you would like to connect and GitLive will recognize that it’s a different service, ask you to sign in and grant GitLive access to the repository. Signing in with a new service will associate your existing GitLive account with both services.
You can easily manage which repository hosting accounts are associated with your GitLive account, see this previous blog post for details. In JetBrains IDEs, use the “+” and “-“ icons under the GitLive tab within the Preferences window to add and remove repository hosting service accounts you are signed in with. In VS Code select the “User” icon within the Gitlive window to add and remove repository hosting service accounts you are signed in with.
Let us know what you think about our Azure DevOps integration in the comments. We want to hear how we can make GitLive better for you!
Join our slack channel to get early access to the newest builds before they are released on the VS Code and JetBrains marketplace.
Comments